
I still remember the soft, warm cloud of a roll that came out of my oven the first time I made these in a hurry between homework help and bedtime stories. The kitchen smelled like comfort and sun-warmed butter, and for a little while the chaos of the evening softened. I reach for this recipe when I want something simple that hugs the whole family.
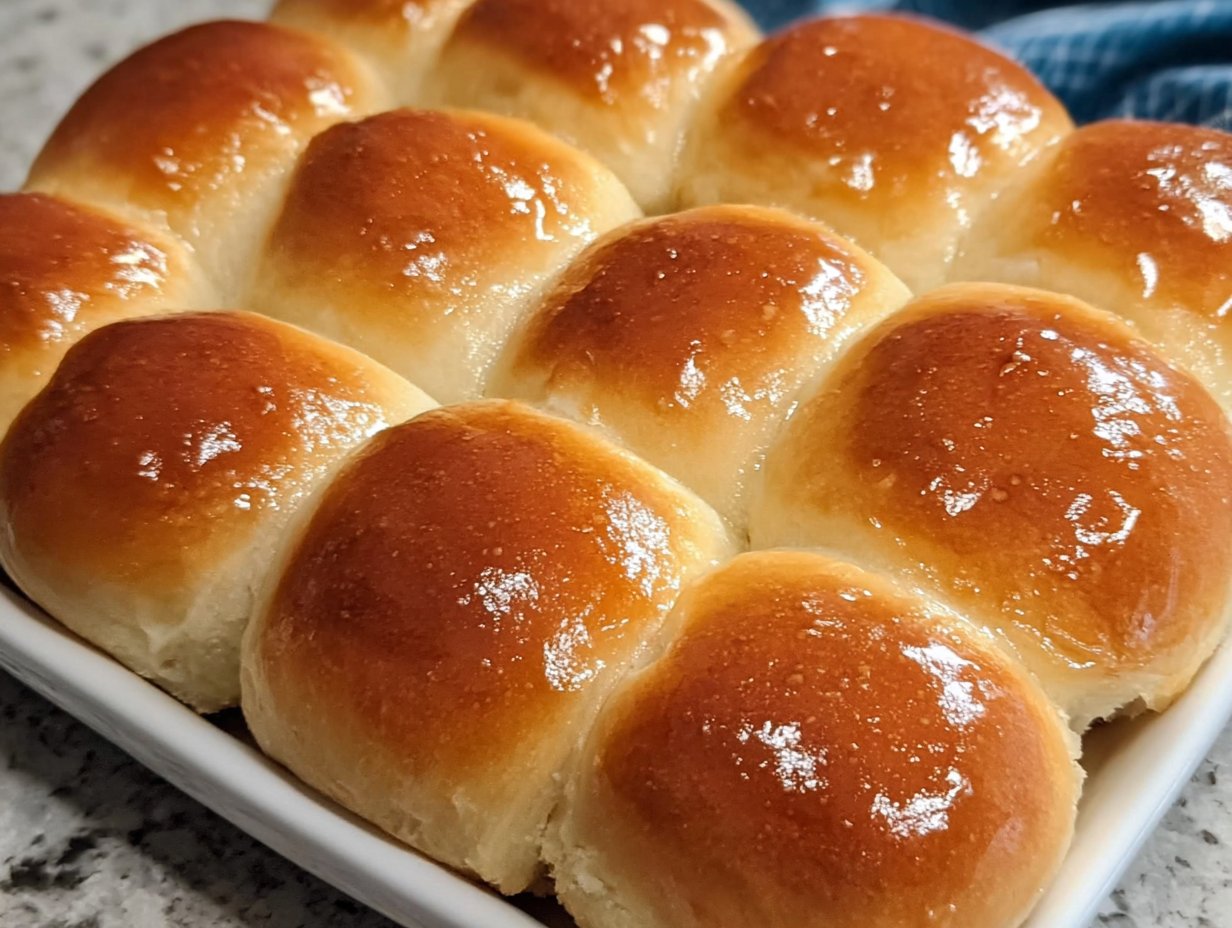
30 Minute Dinner Rolls arrive at the table with a golden top and a tender inside, and they feel like a secret weapon for busy weeknights or last-minute guests. If you love quick wins that still taste homemade, you might also enjoy this easy Marry Me Chicken recipe I turn to when I need a fuss-free main that everyone loves. These rolls are forgiving, fast, and they offer that freshly baked edge even when time is short. Pull one apart, brush it with butter, and you have a moment of pure, cozy satisfaction.
Kitchen Essentials You’ll Need
You do not need a fancy arsenal to make these rolls. A few well-chosen tools make the process smoother and help the dough behave, especially when you are racing the clock.
- Stand mixer with dough hook or a large mixing bowl and a sturdy wooden spoon
- 9×13 baking pan (or similar size) and parchment paper or a light coating of oil
- Clean dish towel or plastic wrap to cover dough
- Measuring cups and spoons, and a kitchen thermometer if you like precision
The stand mixer shortens the active time and helps knead the dough evenly. Parchment paper keeps cleanup quick and prevents sticking. A towel to cover the pan keeps the dough from drying while it rests. If you are hand-kneading, a bit more elbow grease gives the same tender crumb and is a nice, mindful ritual.
Why You’ll Love This 30 Minute Dinner Rolls
There is something about the way a hot, slightly glossy roll yields under your fingers that makes ordinary dinners feel special. These rolls are golden on top, pillowy inside, and they sing of homemade warmth with minimal effort. Here’s why they become my go-to when life is full.
- Speed and simplicity. The whole process moves quickly so you get fresh rolls in under an hour.
- Texture that delights. You get a thin, slightly crisp crust and a tender, springy interior that pulls apart in strands.
- Versatility. Serve them with soup, roast chicken, or a big salad and they fit right in.
- Kid-friendly. Little hands love tearing them apart and slathering on butter.
- Comfort factor. Warm bread is the ultimate edible hug after a long day.
The dough is forgiving, which is a relief when your timing is off. The aroma as they bake lifts moods, and the buttery finish gives that classic, comforting flavor. These rolls are practical enough for weeknights and pretty enough for weekend guests. They pair beautifully with almost anything in your dinner rotation and can be dressed up with a sprinkle of flaky salt or herb butter for a holiday table. The small time investment pays off in big, cozy returns.
30 Minute Dinner Rolls Ingredients
This recipe keeps the ingredient list simple and pantry-friendly so you can pull it together without a special trip to the store.
1 1/4 cups warm water, 1/4 cup sugar, 2 Tbsp active dry yeast, 1/3 cup vegetable oil, 1 tsp salt, 1 egg, 3 3/4 cups all-purpose flour, Butter for brushing on top (optional)
I also often have a few staples nearby that you might want on hand. A little extra butter to brush the finished rolls gives them that glossy, irresistible finish. If you enjoy savory rolls, small additions like a pinch of garlic powder, finely chopped fresh rosemary, or a tablespoon of olive oil in place of some vegetable oil can subtly change the flavor profile. The warm water should feel comfortably warm to the touch, like a warm bath, which helps the yeast wake up and get lively. The yeast amount here is generous so the dough rises quickly and gives you that soft interior.
Step-by-Step Instructions
- Line a 9×13 baking pan with parchment paper or lightly grease it. Spread the parchment smoothly so the rolls will lift out easily. A lightly greased pan will also work; the goal is easy removal and even browning.
- In a stand mixer bowl, combine warm water, sugar, and yeast. Let it proof for 2-5 minutes until frothy. You will see small bubbles and a foamy cap appear when the yeast is happy. The aroma will be faintly sweet and yeasty, which is the signal to move on.
- Add vegetable oil, salt, and egg to the yeast mixture and mix until combined. The mixture should look glossy and slightly thick. The egg gives richness and a tender crumb while the oil keeps the rolls soft.
- Gradually add flour, one cup at a time, mixing until combined. Knead the dough with the mixer for about 4 minutes. Aim for a soft, slightly sticky dough that pulls away from the sides of the bowl. After kneading, it should feel smooth and spring back when poked gently.
- Shape the dough into 15 balls and place them in the prepared baking dish, spacing evenly. Cover with a dish towel. As you roll each ball, tuck the seams underneath to create a smooth top. The towel traps warmth and prevents a dry skin from forming.
- Preheat your oven to 375°F and place the pan on top of the oven to help the dough rise. The gentle warmth from the oven top encourages a quick puff without overheating the dough. You want the rolls to look noticeably fuller and softly domed before baking.
- Once the oven is hot, bake the rolls for 20 minutes or until golden brown. Watch for a warm, nutty scent and a deepening color on the tops. A toothpick in the center should come out clean and the internal temperature of the rolls will be around 190°F when done.
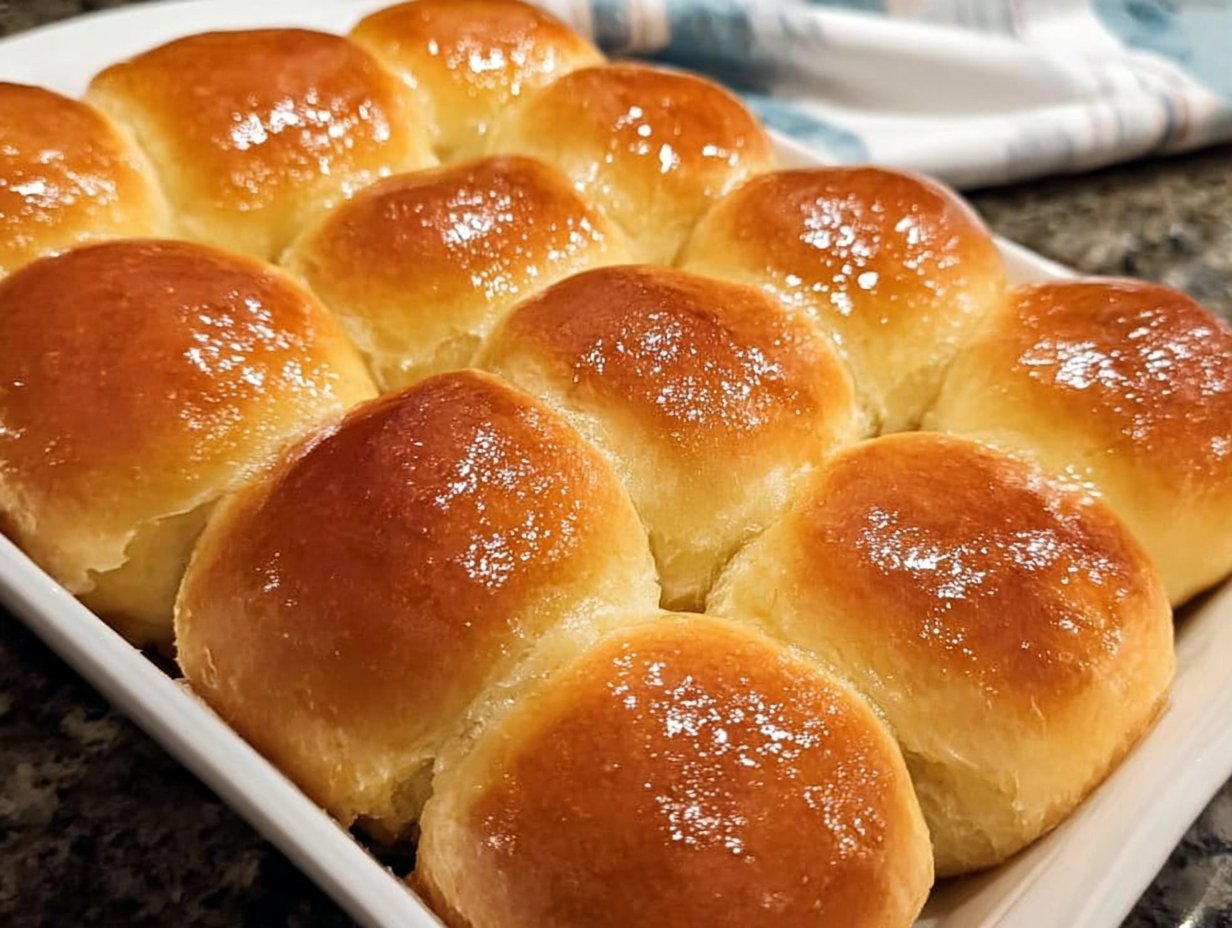
- Remove from the oven and brush the tops with melted butter if desired before serving. The butter soaks into the surface, creating a tender, shiny crust and sending a buttery scent across the table. Let the rolls rest for a few minutes so the crumb sets before tearing into them.
Fun Variations You Can Try
If you want to riff on the classic, there are many small tweaks that change the personality of these rolls without adding fuss.
- Herb and garlic: Stir 1 tsp garlic powder and 2 tbsp finely chopped fresh parsley or rosemary into the dough. Brush with herb butter after baking.
- Cheese-stuffed: Press a small cube of cheddar or mozzarella into the center of each ball before sealing and placing in the pan.
- Whole wheat twist: Replace 1 cup of the all-purpose flour with whole wheat flour for a nuttier flavor and denser texture.
- Sweet rolls: Add 2 tbsp honey to the dough and sprinkle tops with cinnamon sugar before baking for a quick sweet treat.
- Dairy-free: Use plant-based margarine for brushing and ensure the egg is omitted or replaced with a flax egg if needed.
- Sesame or poppy seed topping: Brush tops with a beaten egg wash or milk and sprinkle seeds for visual appeal and flavor.
These variations let you tailor the rolls to the dinner you are planning. If you are short on time, the herb butter finish alone makes a big impact. For a crowd, the cheese-stuffed version disappears fastest.
How I Love to Serve It
There is a simple joy in arranging a warm pan of rolls at the center of the table. I like to present them still slightly steaming so everyone can pull their own and fill the room with the smell of fresh bread.
Pairing ideas I reach for include roasted chicken, a cozy pot of chili, or a bright green salad with lemon vinaigrette. For a weekend supper, serve them alongside a silky mashed potato and gravy spread for an indulgent, homey meal. For a lighter dinner, cut them in half and make small chicken or turkey sliders with crisp lettuce and tangy mayo.
Sometimes I set out a small board of softened butter, herbed compound butter, and a little jar of honey. Letting people choose their finishing touch makes the meal feel interactive and festive. I also like to tuck a few rolls into a cloth napkin-lined basket to keep them warm while the rest of the meal finishes. The combination of textures from a crisp outside and pillowy middle makes them irresistible with soup or a stew spooned into a bowl.
Helpful Tips from My Kitchen
Every home kitchen has its quirks and these tips are the ones I lean on to ensure success, even when I am juggling a million things.
- Measure flour correctly by spooning it into the cup and leveling with a knife. Too much flour makes dense rolls.
- Warm water should be around 100°F to 110°F. Too hot and it will kill the yeast. Test it on the inside of your wrist if you do not have a thermometer.
- If the dough seems sticky after kneading, let it rest for five minutes. The flour will hydrate and become easier to handle.
- For evenly sized rolls, use a 2-tablespoon scoop or weigh portions for consistency.
- If you do not have a stand mixer, knead by hand for 6 to 8 minutes until smooth and elastic.
- For a shinier top, brush with an egg wash before baking. For a softer top, use melted butter after baking.
- To make ahead, shape the rolls and refrigerate covered overnight. Bake from cold, adding a few minutes to the cook time.
- If your home is cold, place the pan on top of the oven or near a warm appliance to encourage rising.
These small practices help the dough behave and give you dependable results. Don’t worry if the rolls are not perfectly uniform. The cozy, homemade look is part of their charm, and they will taste wonderful either way.
Important Cooking Reminders
- Keep warm water at a gentle warmth to activate yeast but do not exceed 110°F. Hot water can kill the yeast.
- Store leftovers in an airtight container at room temperature for up to 2 days or freeze for up to 1 month. Reheat frozen rolls in a 350°F oven for 10–12 minutes.
- Reheating tip: wrap rolls in foil and warm for 8–10 minutes for a soft interior; unwrap for the last 2 minutes if you want a crisper top.
- Common mistake: adding too much flour. Dough should be slightly tacky, not stiff. Let it rest if needed.
- Avoid overbaking. Golden brown tops and a hollow thud when tapped are good signals of doneness.
- For safety, always use oven mitts when placing or removing the pan from a hot oven.
Nutritional Information (Estimated)
A single roll is a comforting portion that offers energy from carbohydrates and a touch of fat for flavor. Estimated per roll, based on 15 rolls from this recipe: about 160–200 calories, with roughly 28–30 grams of carbohydrates, 5–7 grams of fat, and 4–6 grams of protein. These figures vary depending on whether you brush with butter and the exact size of each roll. Use these numbers as a guide if you are tracking intake, and remember that a warm roll shared at the table often counts for more than its nutritional components.
Recipe Details
- Prep Time: 20 minutes active, plus short rise time
- Cook Time: 20 minutes
- Total Time: About 45–60 minutes
- Yield: 15 dinner rolls
Common Questions You Might Have
Can I make these rolls without a stand mixer?
Yes. You can mix the ingredients in a large bowl and knead by hand on a lightly floured surface for 6 to 8 minutes. The dough should be smooth and elastic. Hand-kneading gives you a lovely tactile connection to the dough and produces the same tender crumb. If the dough feels sticky, let it rest for a few minutes and then continue; the flour will hydrate and be easier to handle.
How do I know my yeast is still good?
Proof it by stirring the yeast into the warm water with sugar and watching for a frothy, bubbly top within 2 to 5 minutes. If nothing happens, that could mean the yeast is old or the water was too hot or too cool. You can test again with fresh yeast. Using fresh, active yeast ensures a reliable rise.
Can I freeze the rolls and reheat later?
Absolutely. Freeze cooled rolls in a freezer-safe bag for up to one month. To reheat, thaw overnight in the refrigerator or reheat from frozen in a 350°F oven for 10–12 minutes wrapped in foil. For a fresh-baked feel, brush with melted butter after heating to revive that just-made aroma.
Conclusion
When the day feels long and you want to bring a little softness to the table, these 30 Minute Dinner Rolls are the kind of recipe that gives you quick comfort and honest flavor. They are a small, tender ritual that turns a hurried meal into something you remember. The simple list of ingredients comes together into a dough that proofs quickly and bakes into golden, pull-apart rolls that make everyone at the table pause and grin.
I love the way the house smells as they brown and how a little melted butter transforms the tops into glossy pillows. These rolls remind me of childhood dinners and of the quiet satisfaction of feeding people well with minimal fuss. Keep the tools simple, follow the hands-on steps, and give yourself permission to take a breath while the oven does its work. Whether you serve them for a weeknight soup or tuck them into a weekend brunch spread, they are an approachable, warming treat that you will come back to again and again.
Print
30 Minute Dinner Rolls
- Total Time: 40 minutes
- Yield: 15 dinner rolls 1x
- Diet: Vegetarian
Description
Quick and easy homemade dinner rolls with a tender inside and golden top, perfect for any meal.
Ingredients
- 1 1/4 cups warm water
- 1/4 cup sugar
- 2 Tbsp active dry yeast
- 1/3 cup vegetable oil
- 1 tsp salt
- 1 egg
- 3 3/4 cups all-purpose flour
- Butter for brushing on top (optional)
Instructions
- Line a 9×13 baking pan with parchment paper or lightly grease it.
- In a stand mixer bowl, combine warm water, sugar, and yeast. Let it proof for 2-5 minutes until frothy.
- Add vegetable oil, salt, and egg to the yeast mixture and mix until combined.
- Gradually add flour, one cup at a time, and knead the dough with the mixer for about 4 minutes.
- Shape the dough into 15 balls and place them in the prepared baking dish, spacing evenly. Cover with a dish towel.
- Preheat your oven to 375°F.
- Once the oven is hot, bake the rolls for 20 minutes or until golden brown.
- Remove from the oven and brush the tops with melted butter if desired before serving.
Notes
For additional flavor, consider adding garlic powder or herbs to the dough. They can be made ahead and refrigerated overnight before baking.
- Prep Time: 20 minutes
- Cook Time: 20 minutes
- Category: Breads
- Method: Baking
- Cuisine: American
Nutrition
- Serving Size: 1 roll
- Calories: 180
- Sugar: 6g
- Sodium: 200mg
- Fat: 5g
- Saturated Fat: 1g
- Unsaturated Fat: 4g
- Trans Fat: 0g
- Carbohydrates: 30g
- Fiber: 1g
- Protein: 4g
- Cholesterol: 25mg
Keywords: dinner rolls, quick bread, homemade rolls, comfort food