
BEST Homemade Cinnamon Rolls
When the aroma of freshly baked cinnamon rolls wafts through the house, it’s like a warm hug on a chilly morning. These delightful pastries have a way of transforming an ordinary day into something truly special. You might recall the joy of waking up to that sweet, fluffy goodness, perhaps indulging in a homemade treat at your grandmother’s house. Of course, the best part is sharing them with family and friends, stirring memories as everyone gathers around the kitchen table. The flavors of rich cinnamon, brown sugar, and creamy frosting evoke nostalgia, and there’s something about pulling apart that gooey, delicious swirl that makes your heart sing.
Making these rolls at home is not just about eating; it’s an experience, connecting us to tradition and comfort. Even if you’re not an experienced baker, you’ll find that the process is straightforward—and the results are worth every effort. So roll up your sleeves and get ready for a heartwarming journey as we dive into these BEST homemade cinnamon rolls.
Kitchen Essentials You’ll Need
Baking is always more enjoyable with the right tools at hand! Setting up your kitchen for this delightful recipe isn’t complicated; just gather a few key essentials that will help make the process smooth and fun. Here’s what you’ll need:
- Mixing bowls: A large bowl for the dough and a medium bowl for the icing is essential.
- Wooden spoon: Perfect for mixing the dough by hand.
- Rolling pin: This will help you roll out the dough evenly.
- Baking dish: A 9×13 inch baking dish works best for the rolls.
- Sharp knife or unflavored dental floss: Great for cutting those perfect rolls.
- Electric mixer (optional): Helps to make the icing super smooth.
Each of these tools plays a vital role, ensuring that your cinnamon rolls turn out scrumptious and beautiful.
Why You’ll Love This Recipe
These homemade cinnamon rolls are more than just a treat; they’re a moment of joy in every bite. The aroma alone is enough to make your heart flutter with excitement. Imagine pulling them from the oven, their golden tops slightly crispy while the insides remain soft, fluffy, and melt-in-your-mouth delicious. That first bite—filled with gooey cinnamon and sugary goodness—is pure bliss.
What’s even more rewarding about this recipe is its sheer convenience. You can prepare the dough the night before, allowing it to rise in the refrigerator. This means you can wake up to freshly baked rolls without the early morning fuss. The versatility of these cinnamon rolls also allows for twists, such as adding nuts for crunch or mixing in a little cocoa powder for those chocolate lovers in the family.
- Fluffy and Soft: Each roll is tender, pillowy, and just sweet enough.
- Delicious Icing: The cream cheese icing adds a rich, tangy balance that complements the sweetness perfectly.
- Nostalgic Flavor: They remind you of cozy mornings and holiday gatherings, bringing everyone together.
- Easily Customizable: Use your favorite ingredients to make them your own!
Indulging in a batch of these rolls makes every effort worth it. They’re perfect for special occasions or a comforting breakfast when you want to elevate your usual routine.
BEST Homemade Cinnamon Rolls Ingredients
Let’s make sure you have everything you need to successfully create these heavenly rolls. Here’s the ingredient list you’ll be using:
- 4-5 cups (520g-650g) all-purpose flour, spooned and leveled
- 1/4 cup (50g) granulated sugar
- 2 1/4 teaspoons (1 package) instant yeast
- 1/2 teaspoon salt
- 3/4 cup (180mL) water*
- 1/2 cup (120mL) whole milk
- 1/4 cup (60g) unsalted butter, cut into 4 slices
- 1 large egg, at room temperature
- 6 tablespoons (85g) unsalted butter, very soft
- 3/4 cup (150g) packed brown sugar, light or dark
- 1 1/2 tablespoons ground cinnamon
- 4 oz (115g) full-fat block cream cheese, room temperature
- 5 tablespoons (70g) unsalted butter, room temperature
- 1 1/2 cups (195g) powdered sugar
- 1 teaspoon pure vanilla extract
These ingredients come together beautifully to create that classic cinnamon roll experience that we all love.
Step-by-Step Instructions
- In a large bowl, combine 3 cups of flour (to start), sugar, yeast, and salt. Whisk to combine and set aside.
- In a medium microwave-safe bowl or cup, combine water, milk, and sliced butter. Microwave in 10-second bursts until the butter just melts and the mixture feels warm but not hot. You can also do this with a pot placed on a stove burner set to low heat.
- Whisk the egg into the water mixture to combine.
- Pour the wet ingredients over the flour mixture. Using a wooden spoon, mix together until you have a very thick and sticky dough.
- Add another 1 cup of flour to the dough and mix until it starts coming together into a ball.
- This next step can be done directly in your bowl or on a lightly floured work surface. Knead the dough, adding flour as needed to keep it from sticking to your hands or the sides of the bowl, until it’s smooth, elastic, and slightly tacky. If you poke the top of the dough, it should spring back; if the indent remains, the dough needs more kneading.
- Cover the dough and set aside for about 20 minutes. The dough will puff up slightly but won’t double in size. This is just to relax the gluten and make the dough easier to roll without it pulling in on itself.
- Turn the rested dough onto a lightly floured work surface and roll it out into a roughly 14×10 inch rectangle. Use your hands to press and pull the edges to get as nice of a rectangular shape as you can; it doesn’t have to be perfect though!
- Spread the softened butter over the dough, leaving a roughly 1/2 inch border along the edges. Sprinkle the sugar on top and use your hands to spread it out into an even layer over the butter. Finally, sprinkle the cinnamon evenly on top.
- Working from the longer side of the dough, roll it up into a log.
- Cut about 1/2 an inch off each end of the log (this just makes for nicer and more uniform rolls; you can bake them off separately or just skip this step if you don’t mind the appearance).
- Use a sharp serrated knife or unflavored dental floss to cut the log into 12 even rolls. If using a knife, cut the rolls using a sawing motion to prevent squishing. If using floss, break off a large string of unflavored dental floss and wiggle it under your log of dough positioned where you’d like to cut. Lift the ends of the floss up and over the log and cross to form an X. Pull on the ends of the floss to cut through the dough.
- Arrange the rolls cut side up in a 9×13 inch baking dish. There should be a tiny bit of space between each roll, but it’s fine if they’re touching.
- Cover the rolls and set aside in a warm place for about 45 minutes or until about doubled in size. My favorite place to keep cinnamon rolls during this time is in the oven (it shouldn’t be on or hot) just because it keeps the rolls safe from any cold drafts. They’ll be pressed up against each other once they puff up—that’s normal!
- Uncover the rolls and place them into the center of your preheated oven. Bake for 25 to 30 minutes or until a nice golden brown on top. Set aside while you make the icing.
- In a medium-sized bowl, combine icing ingredients. Using an electric mixer fitted with the paddle attachment or a wooden spoon by hand, cream together until smooth. If using a mixer, start on low speed just to incorporate everything together and then whip on medium speed to smoothen the mixture out.
- While the cinnamon rolls are still warm, spread the icing on top. It’ll melt slightly and make them extra gooey!
Fun Variations You Can Try
Cinnamon rolls are a wonderful canvas for creativity in the kitchen. Feel free to add your twist or substitute ingredients to fit your taste preferences or dietary needs. Here are some ideas to inspire your next batch:
- Nutty Additions: Toss in chopped walnuts or pecans for a delightful crunch.
- Fruity Flavor: Add dried cranberries or sliced apples for a fresh take.
- Chocolatey Delight: Swirl in chocolate chips or cocoa powder with the sugar for a chocolatey experience.
- Maple Twist: Substitute maple syrup for the granulated sugar to enhance the sweetness with a more complex flavor.
- Spiced Up: Mix in nutmeg or cardamom with the cinnamon for an aromatic change.
- Gluten-Free Option: Use a gluten-free flour blend to accommodate dietary needs.
Experimenting with these variations can yield new favorite ways to enjoy cinnamon rolls!
How I Love to Serve It
When serving homemade cinnamon rolls, the goal is to create a warm, inviting atmosphere that enhances the experience. As you plate these beautiful rolls, consider how they fit into your meal.
- Perfect Pairing: Serve them warm with a side of fresh fruit or yogurt for a delightful balance of flavors.
- Cozy Atmosphere: Gather around the table with fresh coffee or tea; there’s nothing like a soothing drink with a warm roll.
- Sharing Moment: Present the rolls directly from the baking dish, allowing everyone to help themselves, creating that casual, homey feel.
- Top it Off: Consider adding sliced berries on top or drizzling a touch of caramel for an added indulgence.
The presentation can elevate the experience, making your time spent baking even more rewarding.
Helpful Tips from My Kitchen
Baking can sometimes feel intimidating, but it doesn’t have to be! Here are some practical tips to enhance your cinnamon roll-making experience:
- Temperature Matters: Make sure your liquids are warm, not too hot. Too hot can kill the yeast, and too cold won’t activate it properly.
- Kneading Technique: If you’re new to kneading, use the “pushing and folding” method. Push the dough away from you and fold it back over itself for smooth results.
- Don’t Rush the Rise: Allow your dough to rise fully; this step is crucial for soft, fluffy rolls.
- Freezer-Friendly: You can freeze the rolls before baking; just ensure they’re covered well. When you’re ready, place them in the refrigerator overnight to thaw, then bake per instructions.
- Make Ahead: Prepare the dough the night before and let it rise slowly in the fridge. This way, you can bake fresh rolls without all the early morning prep.
With these tips, you’ll be able to create cinnamon rolls that are not only delicious but also bring confidence to your baking routine.
Important Cooking Reminders
- Safety Notes: Always take care when using hot liquids and ensure your hands are clean when handling food.
- Reheating Tips: If you have leftover rolls, microwave them for 10-15 seconds to bring back the gooeyness. You can also warm them softly in an oven set to a low temperature.
- Storage Tips: Store leftover rolls in an airtight container at room temperature for up to two days or refrigerate for longer freshness.
- Common Mistakes: Avoid over-kneading the dough, which can lead to tougher rolls. Also, be mindful of the baking time; you want a golden brown finish, not burnt.
Being aware of these reminders can make a big difference in your baking experience!
Nutritional Information (Estimated)
Indulging in homemade cinnamon rolls doesn’t have to come with worry; here’s a breakdown of what you can expect:
- Calories: About 350 per roll
- Carbs: 50g
- Fat: 15g
- Protein: 5g
These rolls are a treat but can fit into a balanced diet when enjoyed in moderation.
Recipe Details
- Prep Time: 1 hour (including rise time)
- Cook Time: 25-30 minutes
- Total Time: 1 hour 30 minutes
- Yield: 12 rolls

Common Questions You Might Have
What can I do if my dough doesn’t rise?
If your dough doesn’t rise, it could be due to inactive yeast. Ensure your yeast is fresh. You can check its viability by mixing it with warm water and sugar; if it bubbles, it’s alive. An environment that’s too cold or drafty can also hinder rising. Try placing the dough in a warmer spot—like an oven with just the light on.
Can I make these cinnamon rolls in advance?
Absolutely! You can prepare the dough and let it rise in the fridge overnight, then bake them fresh in the morning. Alternatively, you can freeze the shaped rolls before the final rise; let them thaw overnight in the refrigerator and then allow for a short rise before baking.
How do I store leftovers?
Store leftover rolls in an airtight container at room temperature for up to two days. You can also wrap them well and refrigerate them for up to a week. For longer storage, consider freezing them for up to three months.
Conclusion
Baking the BEST homemade cinnamon rolls is about more than just the ingredients; it’s a celebration of warmth, comfort, and connection. As you gather your loved ones around the table, sharing these delightful rolls fresh from the oven, you’ll find an atmosphere filled with laughter and joy. The memories created in the kitchen, especially with such a cherished recipe, will linger long after the last bite is savored. So don’t hesitate—roll up your sleeves, whisk away, and indulge in this sweet journey. Your kitchen is about to be filled with the intoxicating aroma of cinnamon and sugar as you embark on a delightful baking experience with the BEST homemade cinnamon rolls.
Print
BEST Homemade Cinnamon Rolls
- Total Time: 90 minutes
- Yield: 12 rolls 1x
- Diet: Vegetarian
Description
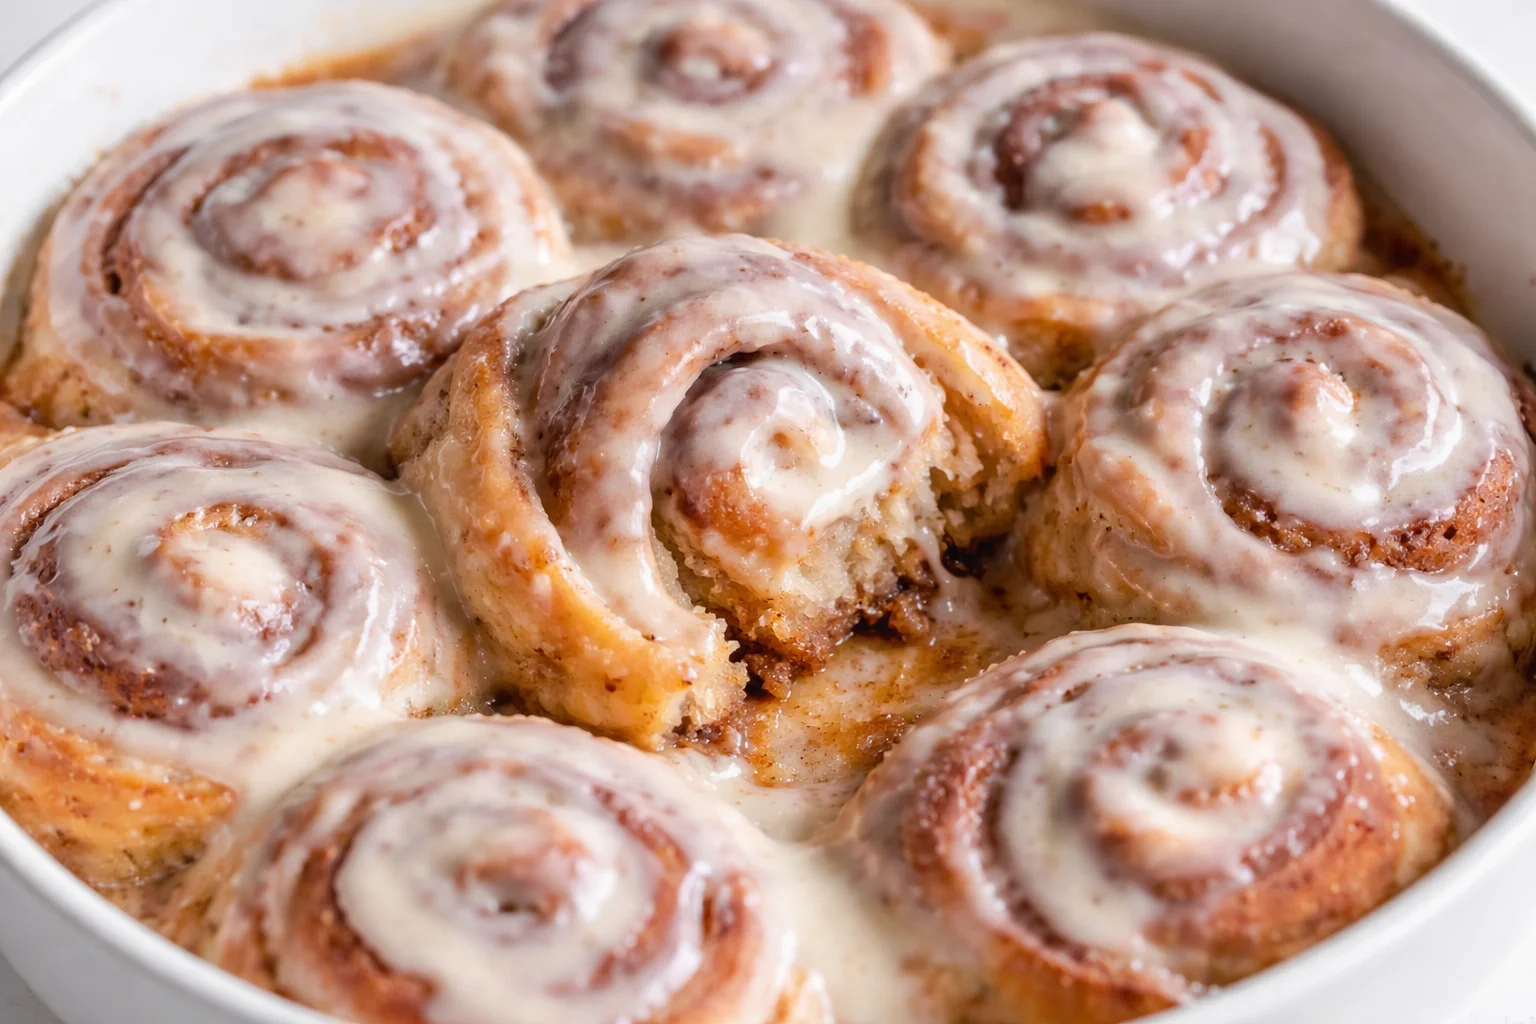
Delightful homemade cinnamon rolls with a gooey cinnamon center and rich cream cheese icing, perfect for cozy mornings.
Ingredients
- 4–5 cups (520g-650g) all-purpose flour, spooned and leveled
- 1/4 cup (50g) granulated sugar
- 2 1/4 teaspoons (1 package) instant yeast
- 1/2 teaspoon salt
- 3/4 cup (180mL) water
- 1/2 cup (120mL) whole milk
- 1/4 cup (60g) unsalted butter, cut into 4 slices
- 1 large egg, at room temperature
- 6 tablespoons (85g) unsalted butter, very soft
- 3/4 cup (150g) packed brown sugar, light or dark
- 1 1/2 tablespoons ground cinnamon
- 4 oz (115g) full-fat block cream cheese, room temperature
- 5 tablespoons (70g) unsalted butter, room temperature
- 1 1/2 cups (195g) powdered sugar
- 1 teaspoon pure vanilla extract
Instructions
- In a large bowl, combine 3 cups of flour, sugar, yeast, and salt. Whisk to combine and set aside.
- In a microwave-safe bowl, combine water, milk, and sliced butter. Microwave until the butter melts and the mixture feels warm.
- Whisk the egg into the water mixture to combine.
- Pour the wet ingredients over the flour mixture and mix until a thick, sticky dough forms.
- Add another 1 cup of flour and mix until it starts coming together into a ball.
- Knead the dough on a floured surface until smooth and elastic.
- Cover the dough and set aside for about 20 minutes.
- Roll the dough into a 14×10 inch rectangle.
- Spread softened butter over the dough, sprinkle with sugar and cinnamon.
- Roll the dough into a log and cut into 12 rolls.
- Arrange in a baking dish and let rise for about 45 minutes.
- Bake in a preheated oven for 25-30 minutes until golden brown.
- Mix icing ingredients and spread over warm rolls.
Notes
Make the dough the night before and refrigerate for a fast breakfast in the morning. Experiment with nuts, chocolate, or fruits for different flavors.
- Prep Time: 60 minutes
- Cook Time: 30 minutes
- Category: Breakfast
- Method: Baking
- Cuisine: American
Nutrition
- Serving Size: 1 roll
- Calories: 350
- Sugar: 12g
- Sodium: 150mg
- Fat: 15g
- Saturated Fat: 8g
- Unsaturated Fat: 5g
- Trans Fat: 0g
- Carbohydrates: 50g
- Fiber: 2g
- Protein: 5g
- Cholesterol: 30mg
Keywords: cinnamon rolls, breakfast, homemade, baked goods