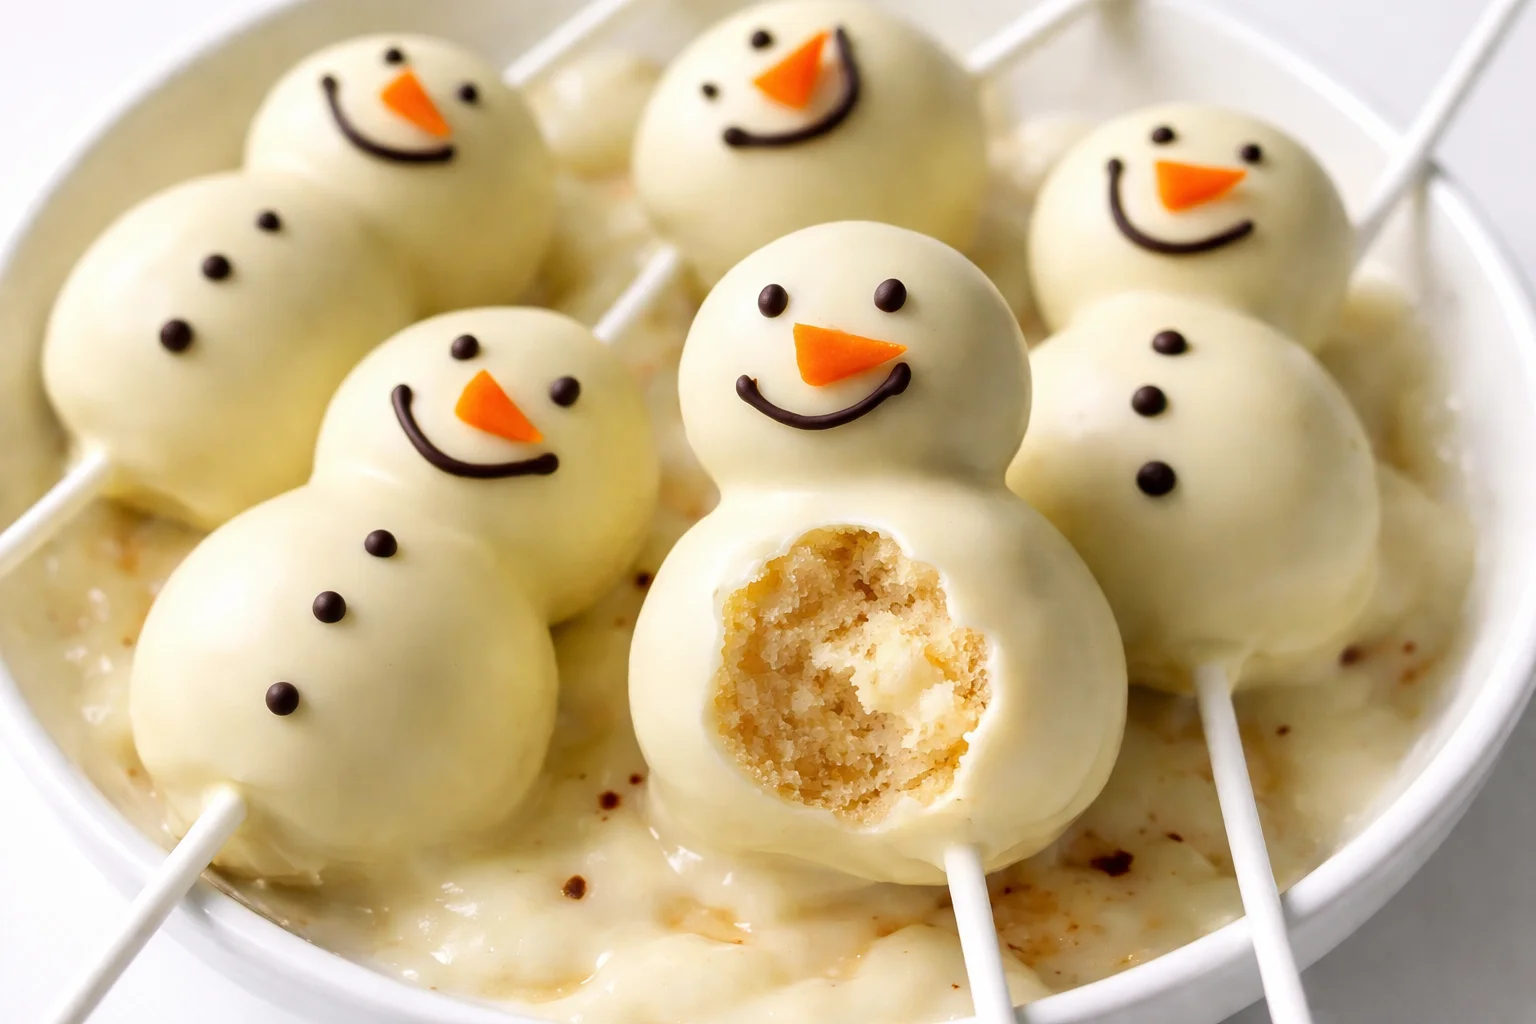
This enchanting treat brings the warmth of the holidays straight to your kitchen. Whether it’s a festive gathering or just a cozy night in, creating these delightful bites can spark joy and bring loved ones together. There’s something special about sharing homemade sweets that not only taste wonderful but also look so charming! The Snowman Cake Pops are perfect for anyone wanting to add a spark of creativity to their dessert table while evoking the delightful spirit of winter.
These fun and festive treats not only please the eyes but also deliver a burst of flavor and sweetness in every bite. As the busy days of the holiday season sweep in, this easy and enjoyable recipe is sure to become a favorite for both kids and adults alike. Let’s dive into the world of Snowman Cake Pops, a recipe that embodies the joy of baking and the spirit of the season.
Kitchen Essentials You’ll Need
Creating the perfect Snowman Cake Pops requires a few essential tools that will make the process smoother and more enjoyable. Each item serves a purpose to ensure your pops turn out not only delicious but also adorable!
- Mixing bowl: To blend your cake and frosting.
- Cookie scoop or spoon: For portioning the cake mixture into pops.
- Lollipop sticks: The foundation for your cake pops.
- Styrofoam block or cake pop stand: To hold your pops upright while they set.
- Microwave-safe bowl: For melting your coating.
Having these tools at your fingertips will make your baking session not just easier but also more enjoyable as you watch your snowman creations come to life!
Why You’ll Love This Recipe
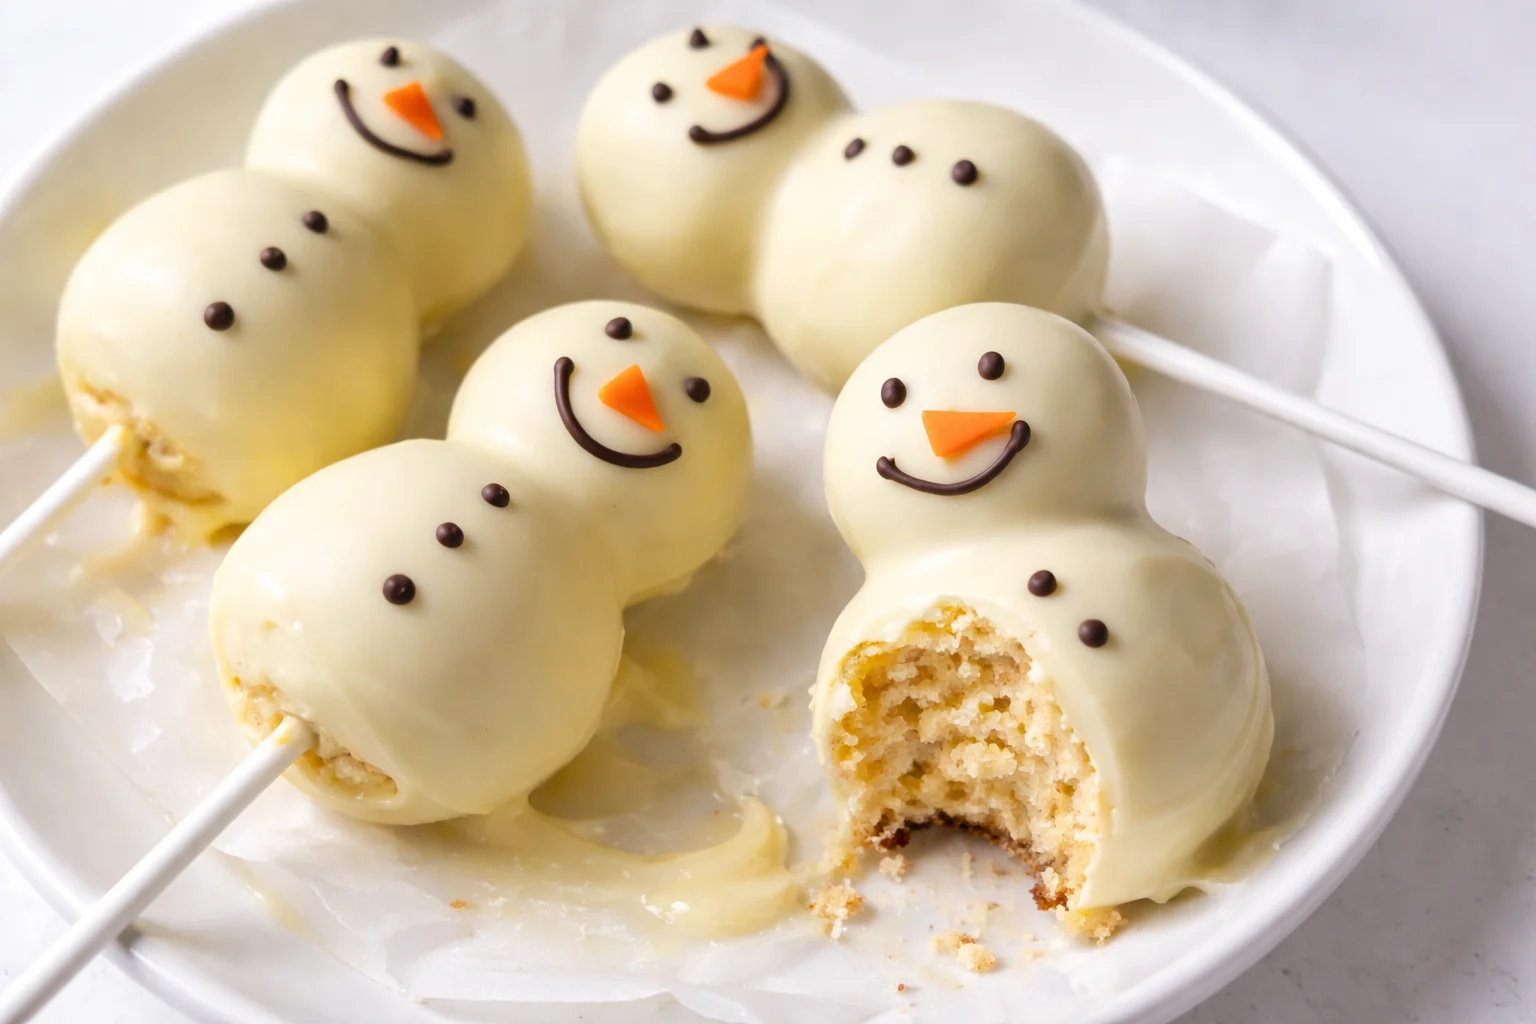
There’s a special kind of magic that comes from transforming simple ingredients into whimsical treats like Snowman Cake Pops. The flavor profile is familiar yet exciting—each bite bursts with the comforting sweetness of cake combined with rich frosting, all coated in a glossy shell that shimmers with festive joy.
This recipe is not just about taste; the visual appeal is off the charts. Imagine presenting a platter of these jolly figures to your family and friends. They will undoubtedly draw smiles and laughter, spreading warmth that only homemade goodies can bring.
- Comfort: The soft, moist cake paired with creamy frosting creates a cozy treat.
- Fun for All Ages: A great way to engage kids in the kitchen. They’ll love helping you decorate.
- Versatile: Use any cake flavor you love—from chocolate to vanilla—or even gluten-free options.
Creating Snowman Cake Pops is perfect for holidays, parties, or just as a delightful surprise on a chilly day, making this recipe a fun tradition your family will cherish for years to come!
Snowman Cake Pops Ingredients
To create these delightful Snowman Cake Pops, you will need the following ingredients:
- 1 box of cake mix (your favorite flavor)
- 1 can of frosting
- 1 ½ cups of melting chocolate or candy coating
- Lollipop sticks
- Edible decorations (like mini chocolate chips, icing, or candies for eyes and buttons)
- Sprinkles or nonpareils for a decorative touch (optional)
- Styrofoam block or cake pop stand
Having quality ingredients will ensure that your cake pops not only look great but taste amazing too!
Step-by-Step Instructions
- Bake the Cake: Prepare the cake mix according to the package instructions. Bake in a standard 9×13 inch pan and let it cool completely.
- Crumble the Cake: Once cool, crumble the cake into a large mixing bowl until it resembles fine crumbs.
- Mix in Frosting: Gradually add the frosting to the cake crumbs. Start with half a can and mix well. You want the mixture to be moist but not too sticky. It should hold together when you form a ball.
- Form Cake Balls: Use a cookie scoop or your hands to scoop out equal portions of the mixture. Roll them into balls about 1 inch in diameter and place them on a wax paper-lined baking sheet.
- Chill the Cake Balls: Place the tray in the refrigerator for about 30 minutes to allow the balls to firm up.
- Melt Coating: In a microwave-safe bowl, melt the chocolate or candy coating according to the package instructions. Stir until smooth and creamy.
- Dip Lollipop Sticks: Take a lollipop stick and dip the end into the melted coating, then insert it into the center of each cake ball. This helps keep the stick in place when coating the balls.
- Coat the Cake Pops: Holding the stick, dip the cake ball into the melted coating. Turn and gently tap the stick on the edge of the bowl to let any excess coating drip off.
- Set the Pops: Insert the sticks into a Styrofoam block or cake pop stand and let them set until the coating hardens. This usually takes about 10-15 minutes.
- Decorate: Once the coating has set, use the edible decorations to create faces and buttons on your snowmen. Get creative—each one can be unique!
- Enjoy: Once decorated, serve your Snowman Cake Pops to family and friends. They are sure to be a hit!
Fun Variations You Can Try
Once you’ve mastered the classic Snowman Cake Pops, don’t hesitate to explore some fun variations. Each twist can create an entirely new experience, making this recipe even more enjoyable!
- Flavor Swaps: Try different cake flavors like red velvet or lemon for a surprising twist.
- Different Coatings: Use white chocolate, dark chocolate, or even yogurt coating for a health-conscious option.
- Festive Colors: Add a hint of food coloring to your coating for colorful pops that suit any holiday.
- Personalized Toppings: Use nuts, dried fruit, or even small candies to personalize each snowman.
- Dairy-Free and Gluten-Free: Utilize dairy-free frosting and gluten-free cake mix for inclusive options.
Getting creative with these variations can turn Snowman Cake Pops into an exciting and diverse treat, perfect for all occasions!
How I Love to Serve It
These charming Cake Pops are perfect for serving at cozy gatherings or festive holiday parties. I love to arrange them on a pretty platter, maybe surrounded by a few sprigs of holly or drizzled with melted chocolate for an elegant touch.
When it comes to mealtime atmosphere, I imagine dimmed lights and flickering candles, creating a warm comfort for everyone. These pops can be served alongside a hot cup of cocoa or coffee, enhancing that cozy, comforting effect.
Displaying them upright in a decorative jar can also add a whimsical touch to your table. The pops become not just dessert but a conversation starter, inviting everyone to take part in the joy of the season.
Helpful Tips from My Kitchen
Every kitchen adventure has its ups and downs. Here are some practical tips that I’ve learned along the way, which can help ensure your Snowman Cake Pops are a success:
- Cool the Cake Completely: A warm cake can ruin the texture of your pops. Make sure your cake is fully cooled before crumbling.
- Experiment with Textures: If your cake pops are too dry, add a little more frosting. If they’re too wet, add a touch more cake.
- Temperature Matters: Make sure the melted coating isn’t too hot, or it will melt the cake beneath it!
- Chill for Firmness: Allowing the cake balls to chill significantly before dipping helps them hold their shape during coating.
- Decorate Before They Set: For easy decorating, do it while the coating is still slightly warm and tacky.
These tips will help you feel more confident in the kitchen, ensuring delicious and adorable results every time!
Important Cooking Reminders
- Safety Notes: Always handle hot melted coating with care to avoid burns.
- Reheating Methods: If the chocolate or coating hardens, simply reheat it gently in the microwave for 15 to 20 seconds.
- Storage Tips: Keep your cake pops in an airtight container in a cool place— they can also be refrigerated for freshness.
- Common Mistakes:
- Avoid overmixing the cake and frosting, which can alter the texture.
- Make sure your cake pops are fully set before serving to prevent messy hands.
Nutritional Information (Estimated)
While these Snowman Cake Pops are truly a treat, they also come with a few calories. A single cake pop, depending on the specifics of the recipe, contains approximately:
- Calories: 150
- Carbs: 20g
- Fat: 7g
- Protein: 2g
These sweet delights offer a tasty indulgence and can be enjoyed as part of a balanced diet, especially during celebratory seasons!
Recipe Details
- Prep Time: 30 minutes
- Cook Time: 30 minutes
- Total Time: 1 hour
- Yield: About 24 cake pops

Common Questions You Might Have
Can I use gluten-free cake mix?
Absolutely! There are many great gluten-free cake mix options available that work beautifully in this recipe. Just follow the instructions on the box like usual, and you’ll get the same delicious results.
How long do cake pops last?
When stored properly in an airtight container, Snowman Cake Pops can last about a week at room temperature, or up to two weeks in the refrigerator. The flavors will only improve as they meld together!
Can I freeze these cake pops?
Yes, cake pops freeze well! Allow them to set completely, then individually wrap them in plastic wrap and store them in a freezer-safe bag for up to three months. Thaw them in the fridge before serving.
Conclusion
Snowman Cake Pops are not just a recipe; they are an invitation to create joyful memories in the kitchen. As you mix, roll, and decorate, each step becomes a part of your journey—a chance to relive the simple pleasures that baking brings. You may find yourself reminiscing about times spent with family while carrying on the tradition of making sweet treats.
This delightful dessert will not only fill your home with delightful aromas but will also warm your hearts with each sweet bite. Embrace the cozy moments of winter with these charming Snowman Cake Pops, as they symbolize togetherness, laughter, and a sprinkle of magic in every season. So gather your loved ones, don your aprons, and create these delightful confections to celebrate all the holiday moments that matter. Your family will treasure these treats as they share in the joy together!
Print
Snowman Cake Pops
- Total Time: 60 minutes
- Yield: About 24 cake pops 1x
- Diet: Vegetarian
Description
Delightful Snowman Cake Pops, a fun and festive treat perfect for the holidays.
Ingredients
- 1 box of cake mix (your favorite flavor)
- 1 can of frosting
- 1 ½ cups of melting chocolate or candy coating
- Lollipop sticks
- Edible decorations (like mini chocolate chips, icing, or candies for eyes and buttons)
- Sprinkles or nonpareils (optional)
- Styrofoam block or cake pop stand
Instructions
- Bake the Cake: Prepare the cake mix according to the package instructions. Bake in a standard 9×13 inch pan and let it cool completely.
- Crumble the Cake: Once cool, crumble the cake into a large mixing bowl until it resembles fine crumbs.
- Mix in Frosting: Gradually add the frosting to the cake crumbs. Start with half a can and mix well, ensuring the mixture is moist but not too sticky.
- Form Cake Balls: Use a cookie scoop or your hands to scoop out equal portions of the mixture. Roll them into balls about 1 inch in diameter and place them on a wax paper-lined baking sheet.
- Chill the Cake Balls: Place the tray in the refrigerator for about 30 minutes to firm up.
- Melt Coating: In a microwave-safe bowl, melt the chocolate or candy coating according to the package instructions. Stir until smooth.
- Dip Lollipop Sticks: Dip the end of each lollipop stick into the melted coating and insert it into the center of each cake ball.
- Coat the Cake Pops: Dip the cake ball into the melted coating, tapping off excess.
- Set the Pops: Insert the sticks into a Styrofoam block and let them set until the coating hardens, about 10-15 minutes.
- Decorate: Once set, use edible decorations to create faces and buttons on your snowmen.
- Enjoy: Serve to family and friends.
Notes
Keep your cake pops in an airtight container. They last about a week at room temperature or two weeks in the refrigerator.
- Prep Time: 30 minutes
- Cook Time: 30 minutes
- Category: Dessert
- Method: Baking
- Cuisine: American
Nutrition
- Serving Size: 1 cake pop
- Calories: 150
- Sugar: 20g
- Sodium: 200mg
- Fat: 7g
- Saturated Fat: 3g
- Unsaturated Fat: 4g
- Trans Fat: 0g
- Carbohydrates: 20g
- Fiber: 0g
- Protein: 2g
- Cholesterol: 0mg
Keywords: cake pops, snowman, holiday treats, dessert, festive recipes, baking